At the end of this lab we are decided to build a solar window set that uses sunlight energy to operate. It will focus on the aspect of light and how different types of light are healthier for the human. The system includes the Raspberry Pi computer that will control the LEDs and the sensors by using Python, which will be set on the outside of the window, must be addressed. This will need to be integrated well enough where the program operates all the components that are individually performing their own actions. This will be an installation that anyone can put in their home since it will be able to be installed on any window in any home. The entire installation will be versatile as well as aesthetically pleasing, which will make the home-owner want to buy our product. Since we are implementing LED strips in the project, the cost to light one's home will drastically go down. Also, the motion sensors will make it that the lights go on when you're in the room which will reduce the cost of lighting since the lights will not always be on.
 |
| members of group 1 |
Why did the group decide to use Raspberry Pi?
Raspberry pie will be used to control effectively all the sensors system and LED by using Python program. A Raspberry Pi is preferable to another mini computer because the group is more familiar with it, it has two USB ports (making it more versatile), and it is easier to work with in terms functionality and the codes that are compatible with the system. Also, we wanted to be safe with using a larger processor with the Raspberry Pi than risk using arduino since they recommend using multiple of them. We do not know for sure that one product is better than the other, but we do know how to use a Raspberry Pi as well as we are more comfortable with the product.
 |
| Raspberry Pie 2 |
Week 2
We were working to build the three dimension designs for the frame and the base of window. We also planned to go to dlux lab to learn how dialux program operates . Besides, we may go to machine shop to find some materials that is necessary for the project. Also, the Raspberry Pi has come in and we will be setting it up next class with the intention that we can program it outside of class with accordance to sketch and build the design. We are also looking to have a 3-D printed model soon, the application must be filled in this class and then once that is submitted the three-dimensional design will be ready to submit. We are adhering to our timeline and there have not been any "bumps" yet. Everything is running smoothly and we are looking forward to next week's class.


Week 3
We had a helpful discussion with adviser Plowman to make the project go right track. We also did some researches about LED strips to know how much power it needs. Besides, we had chance to talk with professor Ellis about the trip to dlux lab. Our goal this week is to get background research, program for raspberry pi 2 done and finish the design. Here is our picture at lab 3:

The LED strips that are designed on the window, will be look like the picture for the most part. We would like to have this design be implemented in any area of the home, office, or workspace. Also, note that the LEDs will be connected to a computer (raspberry pi) to be able to automatically controlling all the components. So this is a rough idea of what we are anticipating. We unfortunately did not have the proper research in lab this week, but we will have proper documentation and research for why we are doing our project and the benefits of having this product.
 |
| https://www.youtube.com/watch?v=wKZ6U-X74LE |
Week 4
We have been programmed Raspberry Pi 2, but we got some troubles. The Raspberry pi's SD card was broken and the code wasn't working as well as we wanted. We also took a look at the LED strips for ordering. Besides, we will create a flow char to make sure that we're going right track. At the end of the lab, we finally installed Raspberry Pi to work properly on the computer. You even can play minecraft on it .Here are the picture of that:


Week 5
This lab we planned to connect LED strips to raspberry Pi, but unfortunately the LED strips wasn't arrived. So, we continued to program Raspberry Pi as well as possible without the LED. Also, we did research about power assessment. There are the chars that compare the power assumptions of LED, CFL ,and Halogen and the impacts of them to the environment.
 |
| http://www.delmarfans.com/educate/basics/efficient-light-bulbs/ |
.gif) |
| http://continuingeducation.construction.com/article.php?L=223&C=947&P=5 |
Week 6
LED strips, light sensor was arrived and we began to program Raspberry Pi and build the circuit that connected every components together. In the lab, we looked for light filter and ready to order one for the LED strips. Besides, we downloaded the data management software that is used to analyze and graph the spectrum. There are two picture of the LES strips and the graph of the wavelength of blue,red and green color.
 |
| http://photobiology.info/Roberts-CR.html |
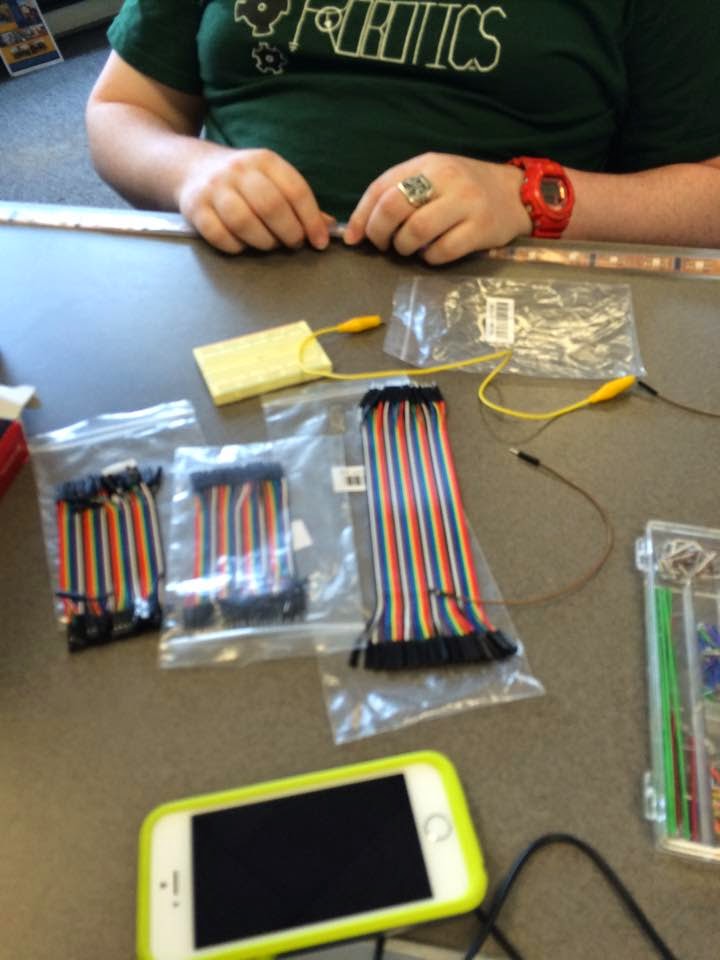
Week 7
This lab, we began to install LED strips and made them work as well. However, we got struggled to install the light meter to collect the data. We also have planned to contact some vendors to order the light filter for the LED strips. Besides, we continued researching power assessment and created the matrix related to it. There are two pictures of integrating raspberry Pi to LED strips and computer .


Week 8
We had some problems with the Raspberry Pi, and the connection between light meter and the computer. Due to unknown causes, the Raspberry Pi ceases to function such as lack of connection between the Pi and LED strips. After studying its current functioning which is the Pi turning on and its red and green lights remaining on without flashing all where there is no visual display response on working monitors. So, we have ordered a new one for the replacement. We also couldn't connect the light meter to laptop to get the spectrum data because there were some errors with the software update. However, we tried to follow the process of the project by doing presentation. We also brought a wood frame to class that will play as a window frame. There are some pictures in the lab on Thursday:


Week 9
After trying many ways to connect the LED strips, it's not still lighted properly, so we have ordered another LED strips to test for the circuit. Unfortunately, the shipping was late on the holiday. At this lab, we focused on the presentation and installed the light meter. At the end of the lab we collected the data of daylight spectrum to use for programming the LED strips. There are the pictures of the daylight spectrum that we took at 1:00 p.m


This week, we finished the project and presented in the lab. The finished project’s results were close to what the research that was done prior to putting together the design. The LEDs was within the nm (nano meter) spectrum of the sun during the daily cycle.The readings for the afternoon were between 400-500 nm, which were the blue-white area of light being produced from the LEDs and then in the evening the wavelength was within the theoretical parameters of 600-700 nm, which was the red-white light that is emitted as the sun is setting. This was necessary since this induces a regular cycle of the “human innerclock” also known as the circadian rhythm.


Excellent! Don't let the LED strips slow down the process! Re: "aseptically" do you mean aesthetically?
ReplyDelete